

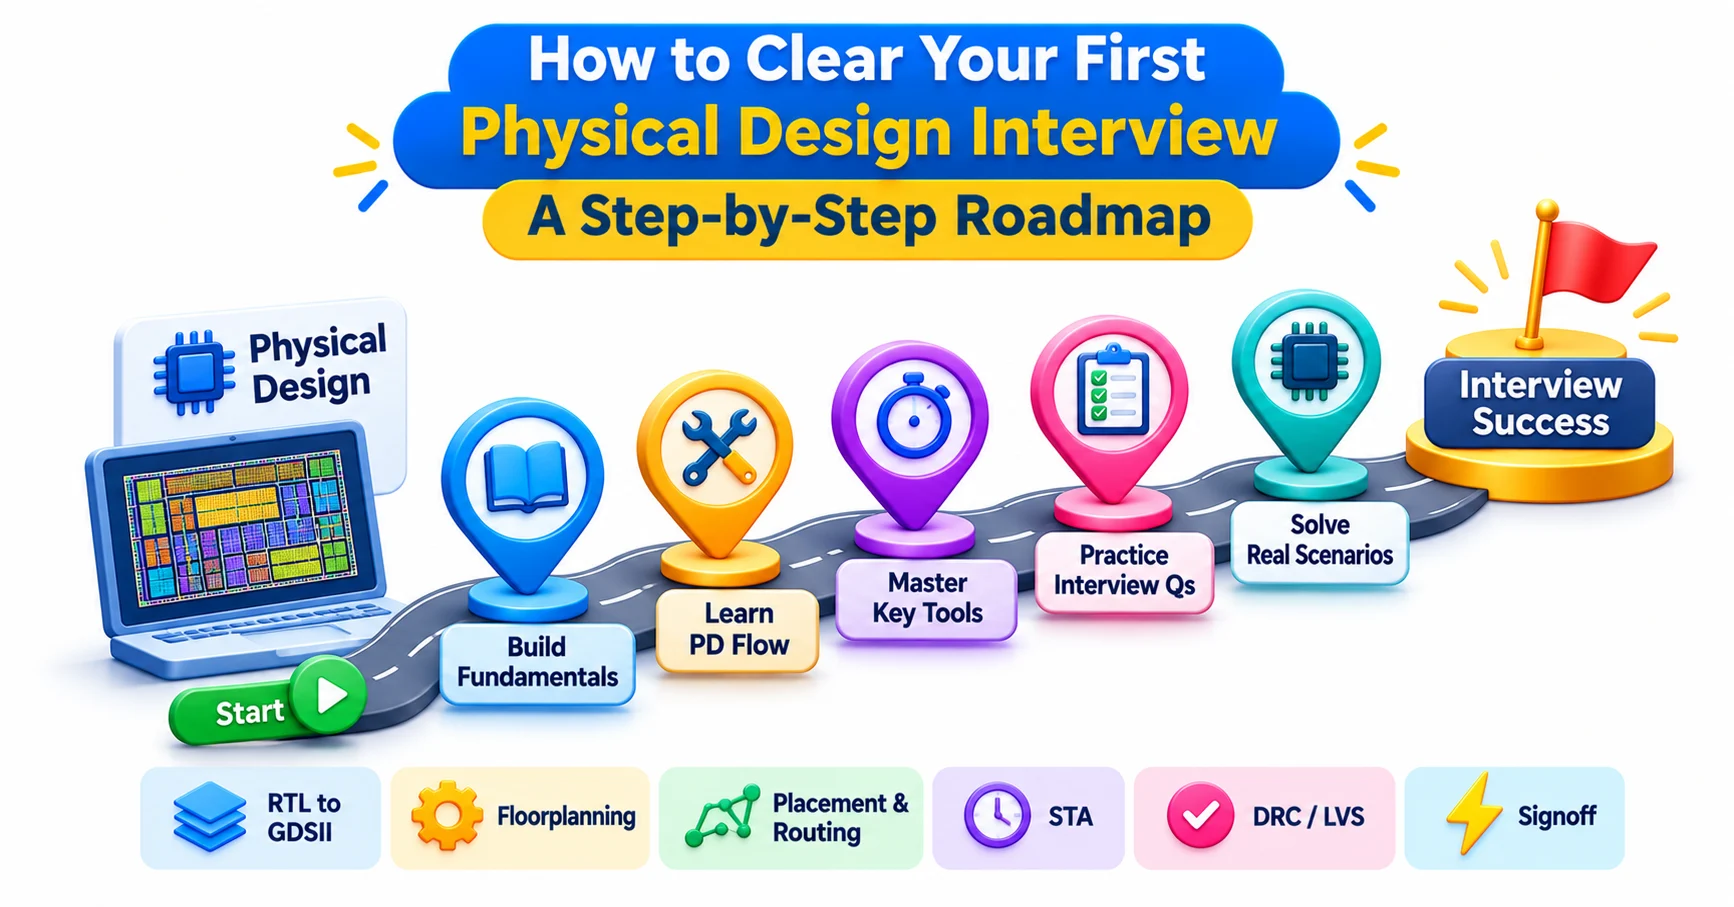
How to Clear Your First Physical Design Interview: A Step-by-Step Roadmap
Navigate through this article using the table of contents below
Table of Contents
No headings found in this article.
Most candidates don’t stumble in a physical design interview on the hard questions. They stumble on the “easy” ones, like why upsizing a cell can fix setup slack but make hold worse. Anyone who has finished physical design training knows the flow, but the interview checks whether you understand it.
This roadmap shows what to prepare, in what order, and how to talk about it. The order matters more than most people expect.
What a Physical Design Interview Actually Tests
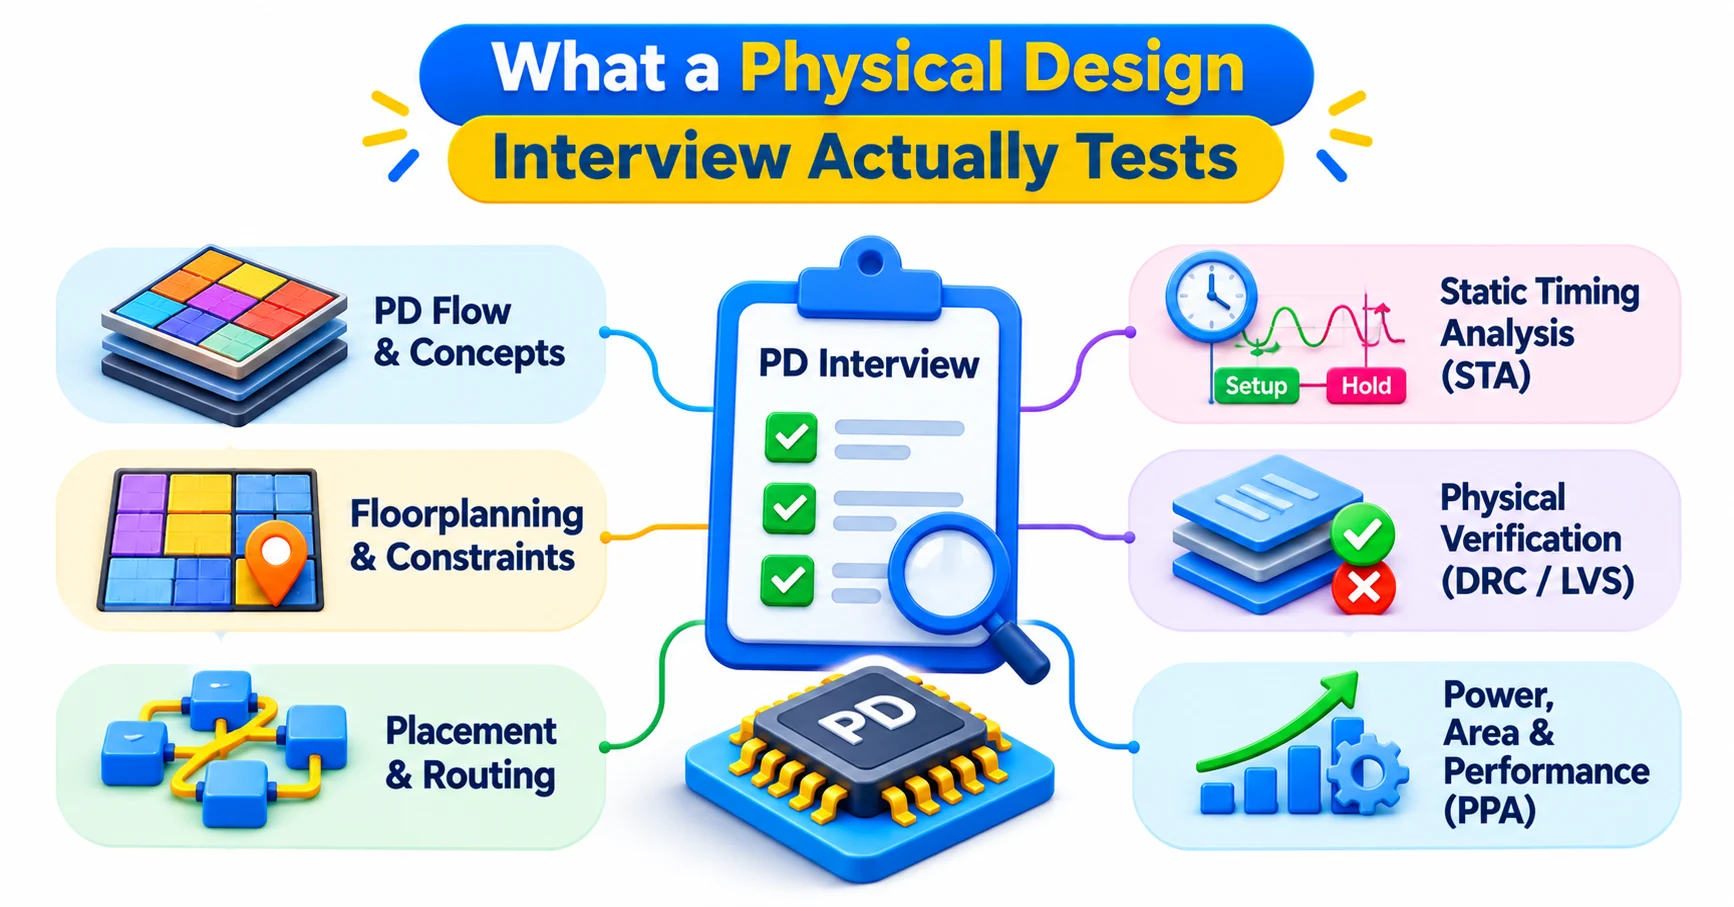
A physical design interview is a conversation about cause and effect. The interviewer wants to know whether you can look at a layout problem, such as a timing violation, a congested corner or a power-grid drop, and reason toward a fix. Memorized definitions only get you through the first five minutes.
For a fresher, the process usually has three layers. There is often a screening round on CMOS and digital basics, then a technical round on the flow and timing, and finally a round on your projects, tools and attitude. Some companies merge these, and some add a written test or a Tcl task. The mix varies, but the layers rarely change.
It also helps to know what the role is not. Physical design sits close to static timing analysis, and interviewers like to probe the border between them. If you can explain where the physical design engineer’s job ends and the STA engineer’s begins, you show that you understand the team you are joining. A good primer is this comparison of physical design and STA engineer responsibilities, skills and career growth.
Here is a quick way to judge where you stand. Take any step of the flow, say clock tree synthesis, and try to explain three things aloud without notes: what goes in, what comes out, and what can go wrong. If you can do that for every stage, you are closer to ready than you think. If you freeze on the third part, that is where your preparation should start.
A common misunderstanding is that physical design is only about running tools. Tools execute commands, but the engineer decides which command to run, in what order and why. Interviewers listen for that decision-making, so describe your choices rather than just the buttons you pressed.
One more point: companies hiring freshers rarely expect tool mastery. They expect clear thinking, honest answers about what you have not done, and evidence that you can learn fast. Candidates who bluff about a tool they touched once usually lose more than they gain.
Step One: Lock Down the Basics Before Touching the Flow
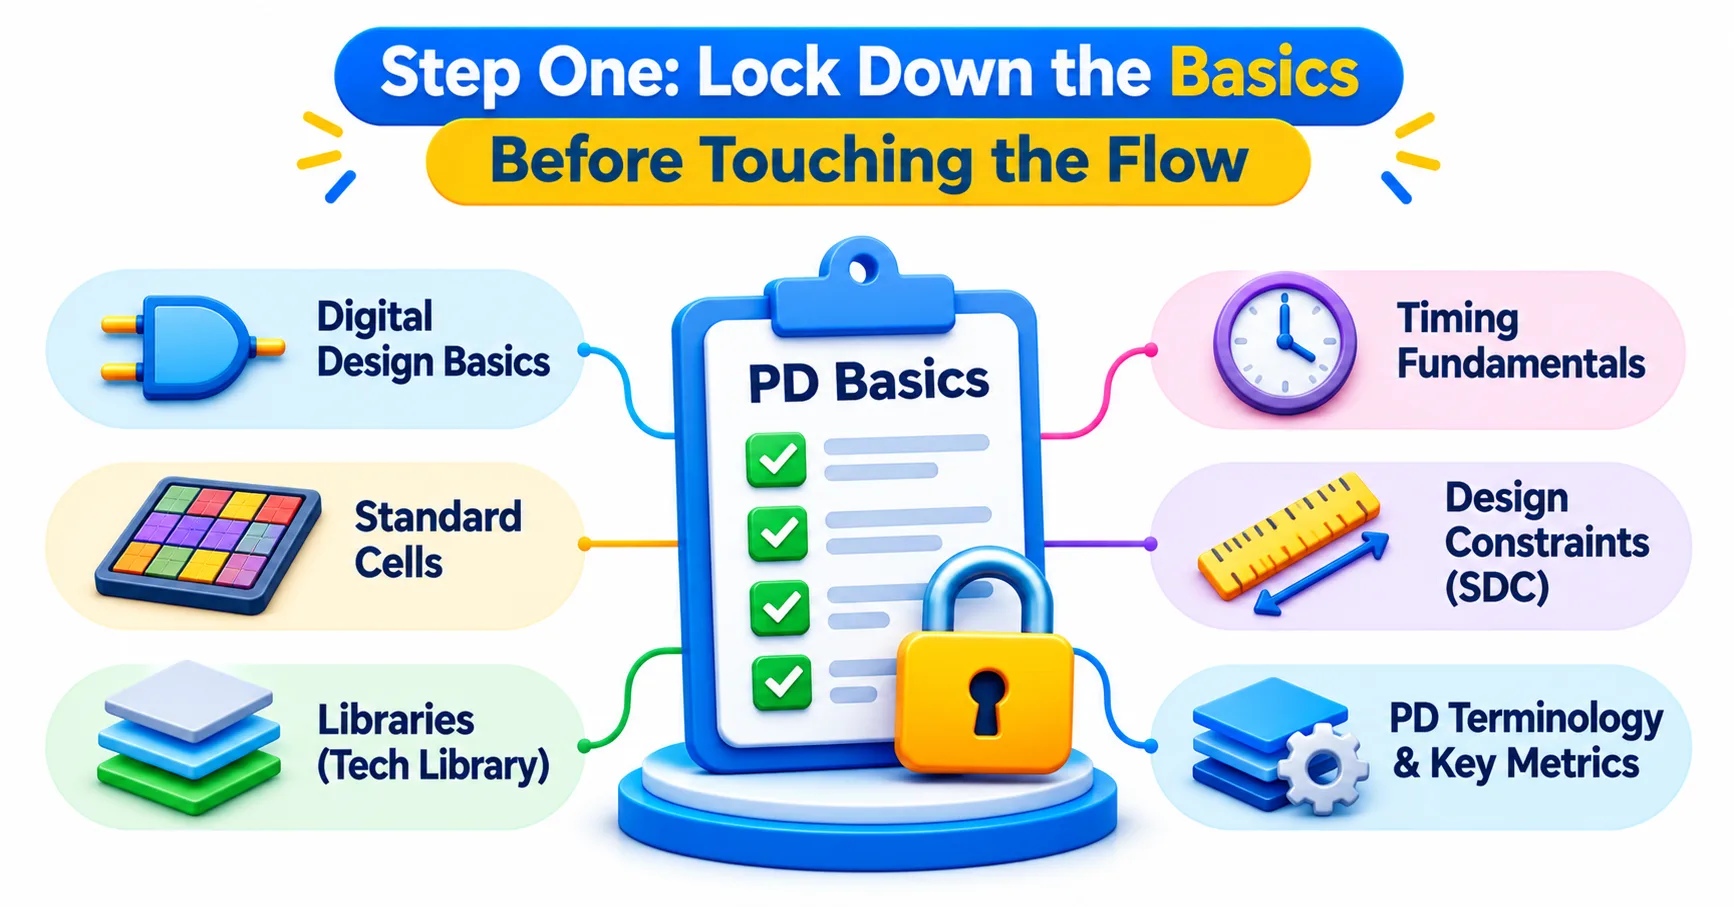
Many candidates jump straight to floorplanning and congestion because those topics feel like “real” physical design. Then a question about a CMOS inverter arrives and the answer falls apart. Basics are where most first-round eliminations happen.
Spend your first week on four areas. The first is CMOS behavior: how a transistor switches, what drives propagation delay, why a bigger cell drives a load faster but presents more capacitance to the cell before it, and how threshold voltage trades speed against leakage. The second is combinational and sequential logic, especially how a flip-flop captures data and why a latch behaves differently.
The third area is timing fundamentals, and this one deserves the most time. Be able to define setup time, hold time, clock skew, slack and clock uncertainty in one sentence each, then draw a launch flop, a capture flop and the path between them. Practice deriving the setup and hold equations on paper until you stop making sign errors. Interviewers love asking “what happens to setup and hold if the clock to the capture flop arrives later?” because it separates people who reasoned from people who recited.
The fourth area is the input files that start every project. Know what a netlist, an SDC constraints file, a timing library, a technology LEF and a cell LEF each contribute. A common beginner mistake is treating these as boilerplate. In reality, a wrong constraint can send an entire team chasing violations that were never real.
A useful drill is the “one-line answer, then the why” habit. Give the short answer first, then explain. For example: “Hold violations are fixed by adding delay, usually buffers, because hold depends on data arriving too early, not on the clock period.” That structure sounds confident, and it lets the interviewer stop you or dig deeper.
Here is a small example of how basics resurface later. A cell with a high drive strength looks like a free fix for a slow path, yet it loads the cell that feeds it and can slow the previous stage. Candidates who understand that trade-off in week one answer timing-closure questions far more naturally in week four.
Do not memorize numbers you cannot defend. If someone asks about typical utilization or buffer counts, it is perfectly fine to say that it depends on the design and node, then explain what it depends on.
Walking the Flow: Floorplan, Placement, CTS, Routing and Signoff
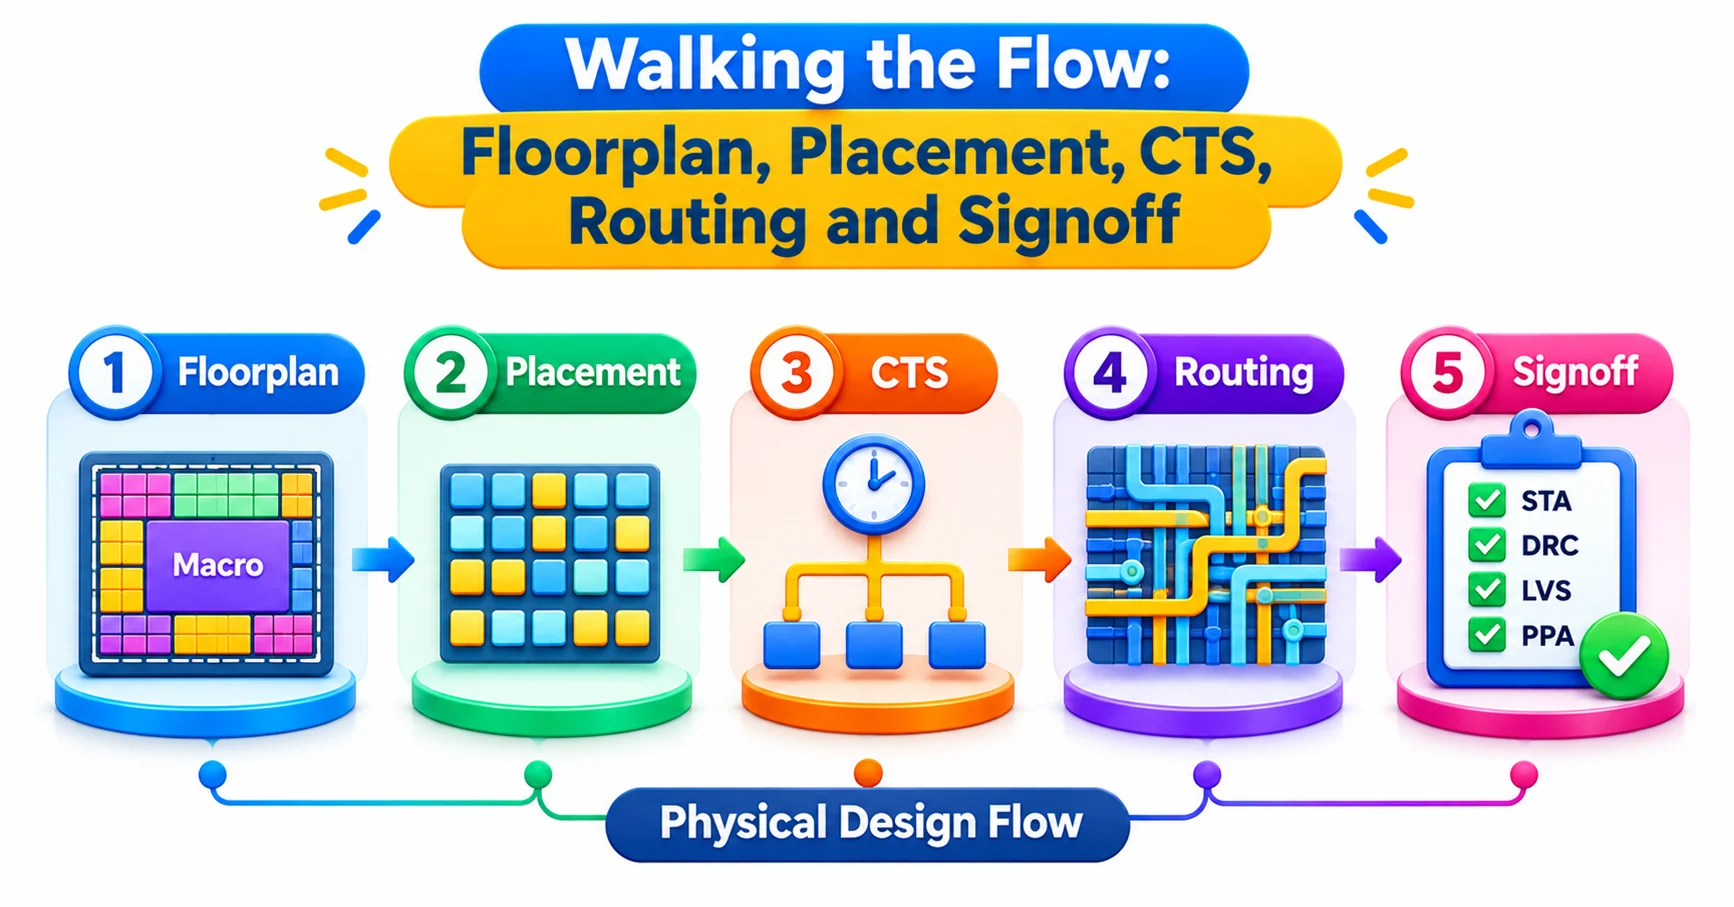
Once the basics hold, learn the flow as a story rather than a list. Each stage inherits the mistakes of the stage before it, and interviewers often ask questions that cross stages, such as “a routing congestion problem appeared after CTS; where might it have started?”
Floorplanning decides the die size, aspect ratio, macro locations, I/O placement and power structure. Poor macro placement is a classic root cause of later congestion, so be ready to explain how you would place memories, why you leave channels between them and how power rings and stripes are planned. Placement then spreads the standard cells, and it is typically followed by optimization for timing, density and congestion.
Clock tree synthesis builds the clock network so that all sequential elements receive the clock with controlled skew and latency. Know why clock cells are treated differently from data cells, what useful skew means and why a clock tree adds noticeable power. Routing connects everything, first globally and then in detail, followed by fixing design rule violations, crosstalk and antenna effects.
Signoff is the stage freshers often neglect. It covers final timing, physical verification such as DRC and LVS, and power integrity checks like IR drop and electromigration. Tell the interviewer that you understand why these happen late: they need real parasitics and a complete layout.
A practical way to retain all this is to keep a one-page flow sheet for yourself, with three columns per stage: inputs, outputs and typical failures. Rewrite it from memory twice a week. The goal is not to produce a pretty chart but to make the connections automatic.
Pay attention to the handoff points as well. The netlist and constraints enter the flow, a floorplan and power plan come next, and the finished layout leaves as a GDSII database for manufacturing. Being able to name the files and databases at each handoff makes your answers sound like experience rather than study notes.
Expect “what if” questions. What if you have thousands of hold violations after CTS? What if utilization is too high? What if a macro blocks the only route between two blocks? Your answers do not have to match a textbook. They should show a sensible order of investigation: check the constraints, find the pattern, then pick the least disruptive fix.
Timing, Power and Congestion: Where Offers Are Won
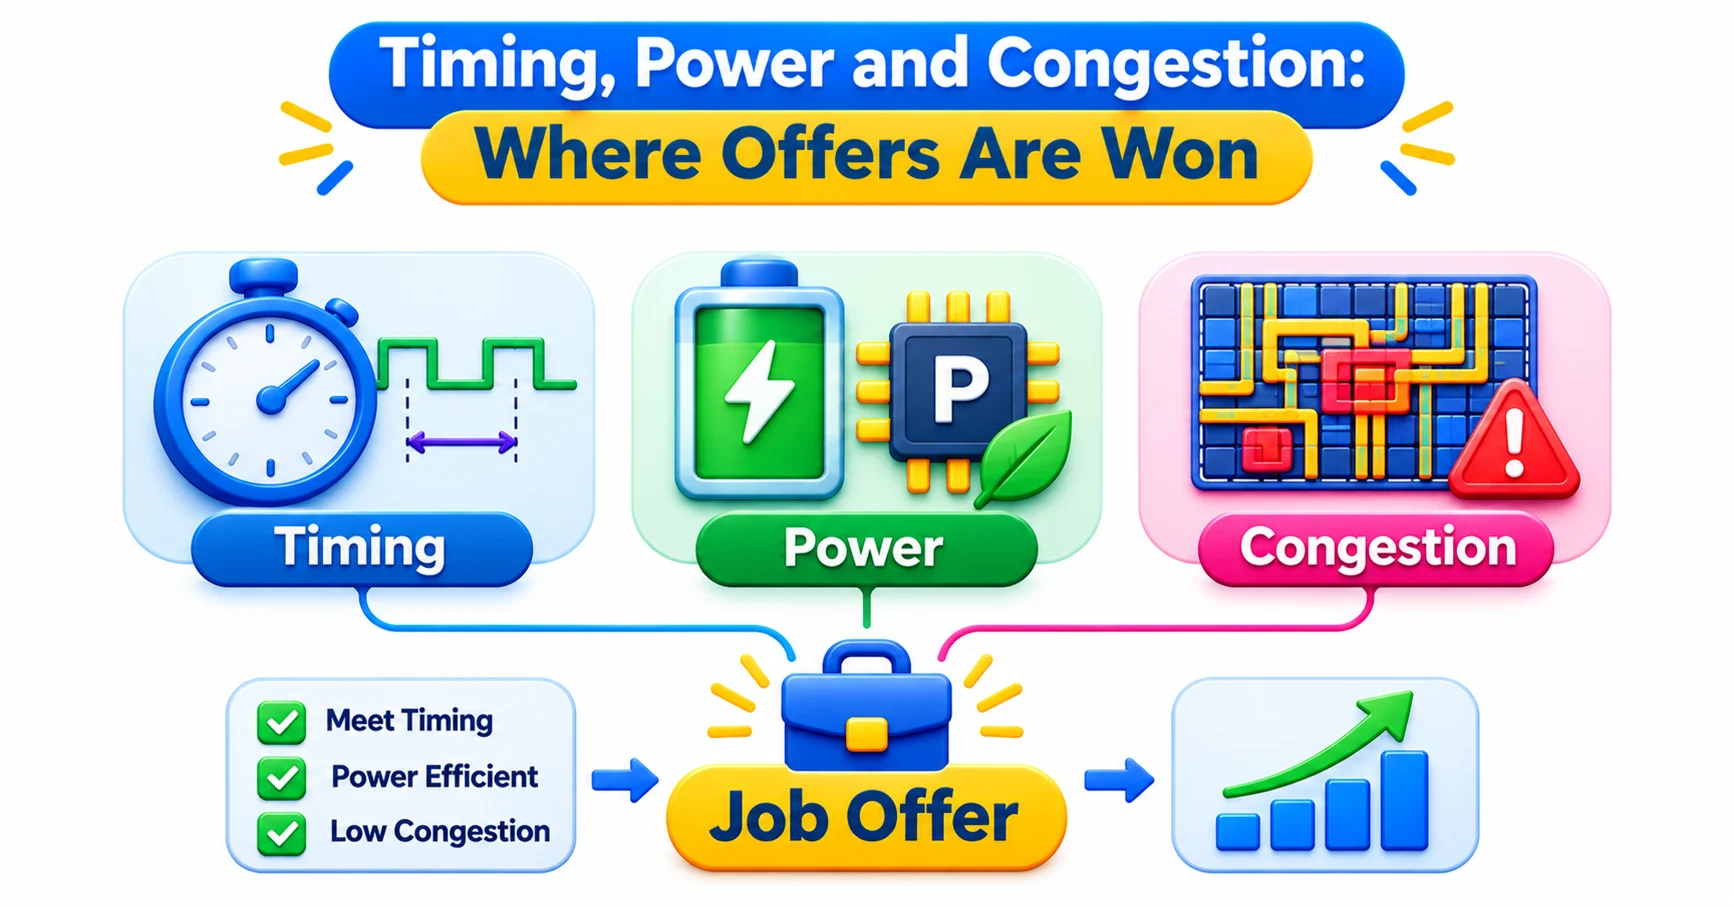
If the flow shows that you know the map, timing, power and congestion questions show that you can drive. These are the topics that tend to decide close interviews, because they reward judgment over recall.
On timing, go beyond definitions. Be ready to explain how you would fix a setup violation: upsizing cells, swapping to a lower-threshold-voltage version, restructuring logic, buffering a long net or adjusting skew. Then note what each fix costs, in power, area or hold margin. Do the same for hold, where inserting delay is the usual answer. Also understand why multiple corners and modes exist, and what on-chip variation derating is trying to capture.
Power questions come in two families. For dynamic power, know the roles of switching activity, capacitance and supply voltage, and the methods that cut them, such as clock gating. For leakage, know multi-threshold libraries and, at a conceptual level, power gating and why low-power designs need isolation and retention. You do not need to be a power-intent expert as a fresher, but you should not be hearing about UPF for the first time.
Congestion is the area where answers sound most generic. Avoid “reduce utilization” as your only response. A stronger answer separates the causes: poor macro placement, high pin density in one region, a narrow channel, too many cells in a small area, or a routing resource shortage in one metal layer. Then match remedies to causes, like moving macros, adding placement blockages or cell padding, or changing the floorplan.
Practice with a “defend your next fix” mindset. Imagine a report showing a worst negative slack on one path and ask yourself what you would look at first. Interviewers are less interested in the exact fix than in whether you read the evidence before acting.
A hypothetical example shows how this plays out. Suppose a block shows a cluster of setup violations all passing through one long net. A weak answer jumps to upsizing every cell on the path. A better answer first checks whether the net is long because of placement, then considers buffering or moving the cells, and only then touches cell sizes.
Finally, keep your confidence honest. If you never ran a signoff flow, say so, then describe how you would approach one. Saying “I have not done this, but here is how I would think about it” lands far better than a half-correct claim.
Making Your Projects, Tools and Scripts Interview-Proof
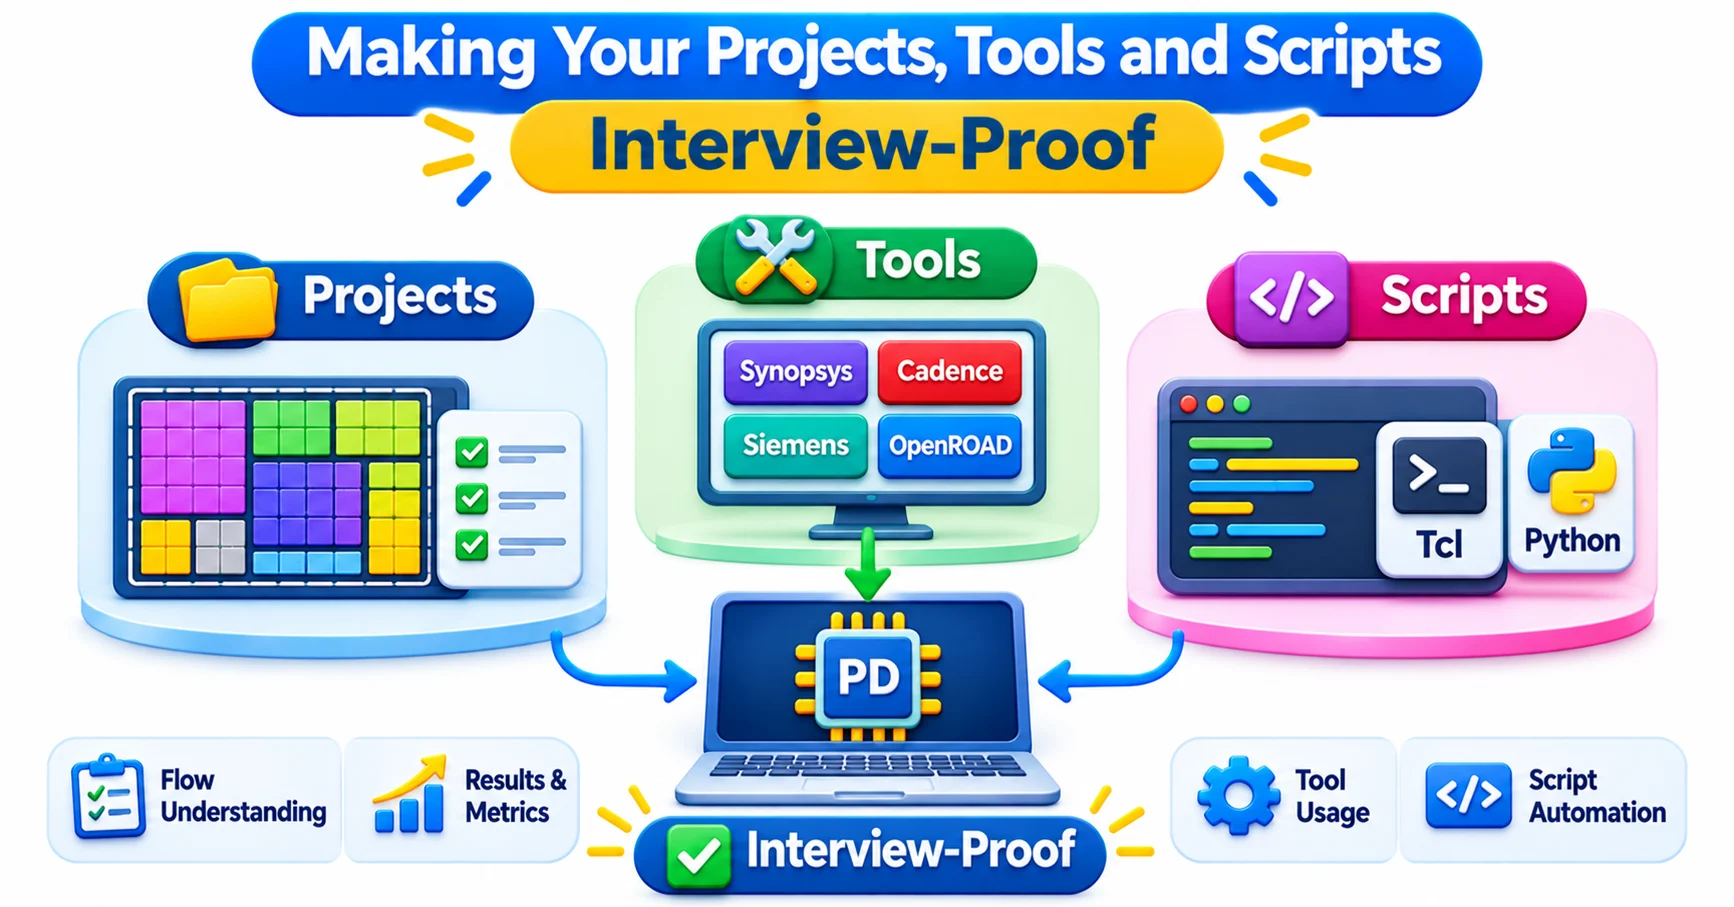
Your project is the one topic where you control the conversation, so prepare it more carefully than any textbook question. Interviewers pick two or three details from your resume and keep asking until they find the edge of your knowledge. The aim is to make that edge deep.
Choose one project and know it completely: the technology node or library you used, the design size, the floorplan decisions, the utilization you ended with, the clock tree results, the worst violations and what you did about them. Write these down. It is surprising how many candidates cannot remember whether they fixed setup before hold, or why.
For every number on your resume, have a story. “I reduced congestion” is not a story. “Congestion peaked near two macros, so I changed the channel width and added blockages, and the overflow dropped” is. Keep the details real. If a fix came from a training lab or a guided flow, say so plainly. Interviewers notice when someone claims more ownership than a fresher could realistically have.
On tools, know the names and the roles. Place-and-route environments from the major EDA vendors, a signoff timing tool and a physical verification tool each have a job in the flow. You may not have used all of them, and that is acceptable. What you should know is what each category does and which commands or reports you used in the ones you touched.
Do not ignore scripting. Tcl is the working language of most physical design environments, and many interviews include a small question such as reading a report and printing paths below a slack threshold. Shell and Python are useful additions. Fifteen minutes of scripting practice a day for a few weeks is enough to turn a weakness into a talking point.
Be careful with certificates and course names too. A line such as “completed physical design course” invites questions about every module, so be ready to open any topic from it. It is better to list fewer topics you can defend than a long list you cannot.
Finally, prepare questions to ask. Asking about the block size the team handles, the technology node, or how timing closure is divided between teams shows that you are thinking like an engineer, not a candidate.
Practice Plan and Interview-Day Habits That Separate Offers from Near-Misses
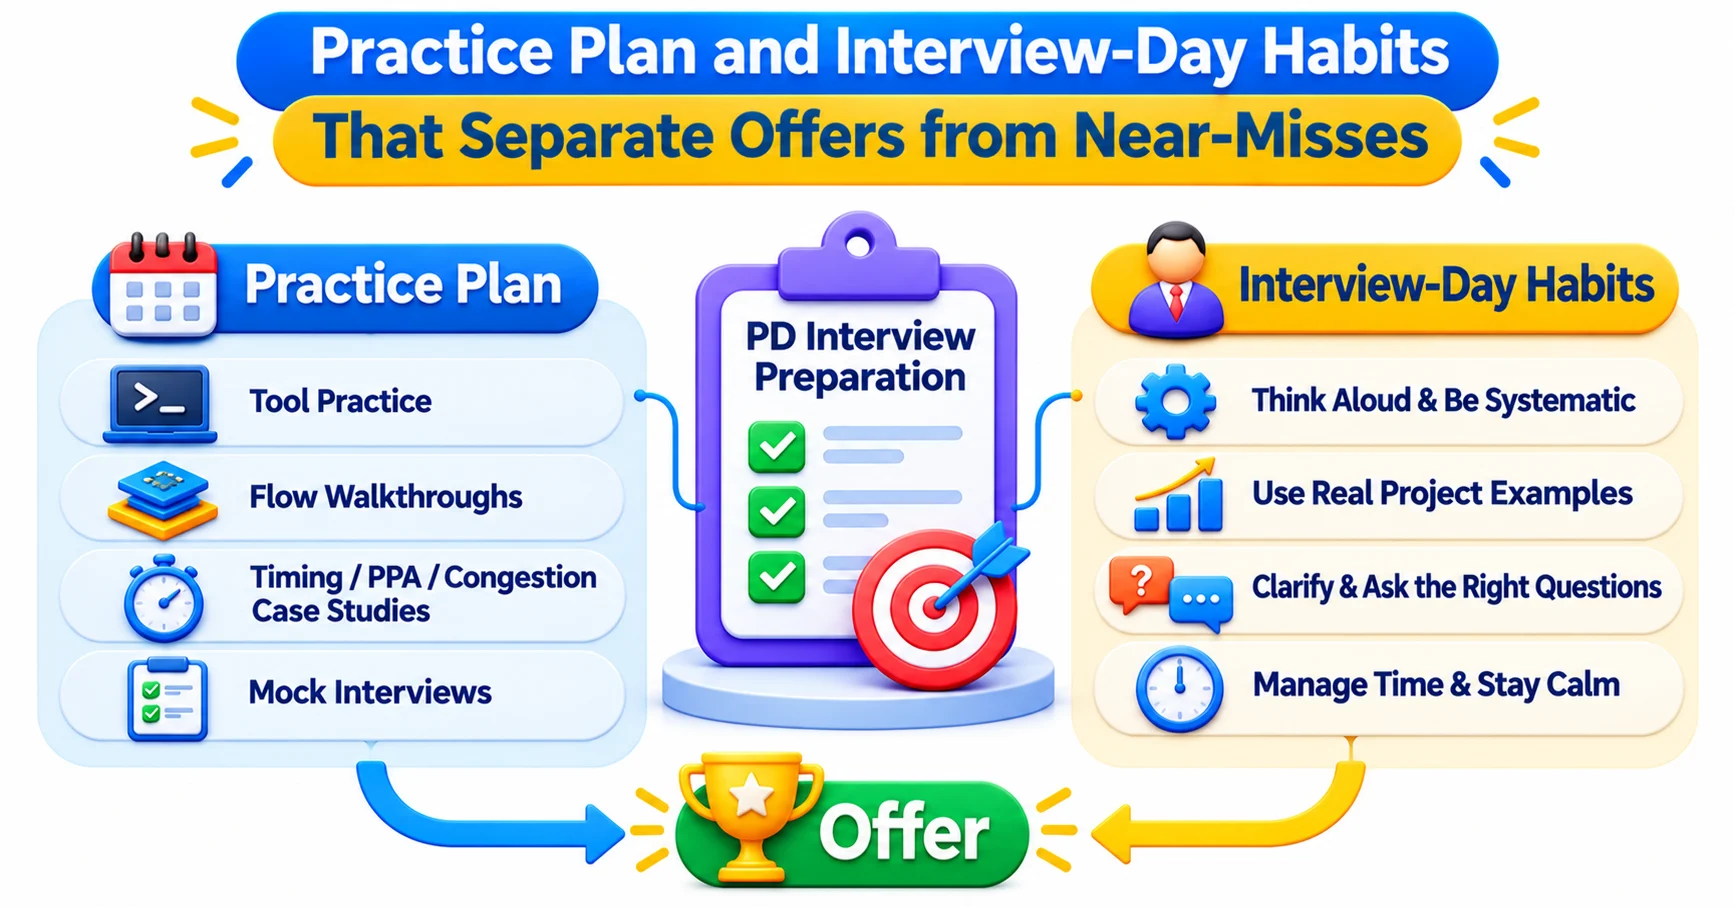
Preparation is more effective when it has a schedule. A four-week plan works well for most freshers who already have the training background.
Week one: CMOS, digital logic and timing fundamentals, with written derivations.
Week two: the full flow, stage by stage, using your one-page flow sheet.
Week three: timing closure, power and congestion scenarios, plus your project walkthrough.
Week four: mock interviews, Tcl practice and revision of weak spots.
The mock interviews are the part people skip, and it shows. Explaining a concept silently in your head is very different from explaining it to another person with a marker in hand. Practice with a friend, a mentor or a recording of yourself. Draw things, because physical design is spatial and sketches carry half the explanation.
On the day itself, a few habits help. Think aloud when you reach a hard question, since interviewers often score reasoning more than the final answer. If you do not know something, say what you do know that is closest, then reason from there. Ask for clarification when a question is vague; it is a normal engineering behavior, not a weakness.
Avoid the common traps: answering with jargon you cannot unpack, rushing through setup and hold equations, contradicting your resume, or ending every answer with a silent stare. A short pause to think is fine. Filling the pause with a wrong claim is not.
Nerves deserve a plan as well. Sleep matters more than one extra hour of revision, and a quick run through your flow sheet an hour before the interview works better than learning a new topic. If a question goes badly, let it go and give the next one your full attention, because most interviews are judged on the overall picture rather than a single answer.
After each interview, write down every question you were asked, including the ones you answered badly. Within a few rounds, you will see the same topics repeating, and that list becomes the most accurate study guide you can own. Structured programs such as the ones at JastTech include this kind of review alongside the technical modules, but the habit works with or without a classroom.
Conclusion
Clearing a physical design interview is less about collecting answers and more about showing a steady line of reasoning from basics to flow to fixes. Prepare in that order, back every claim with something you have actually done, and practice out loud. Your first physical design interview is an audition for how you think, and clear thinking can be learned.